

I developed these fun interactive notes for students to practice graphing linear inequalities, writing linear inequalities from a graph and solving word problems involving linear inequalities. Students really liked shading their graphs with colored pencils and markers. We did the first one together, then they graphed the second one on their own and we talked about how to shade together.

With both these problems projected on the board, at least one student in each class would point out that > are shaded above the line and < are shaded below. Just like any other shortcut, we talked about the limitations and specifically how this only works if y is on the left side of the equation. Some of my students liked to use this shortcut and some preferred to test a point. I modeled with testing (0,0).

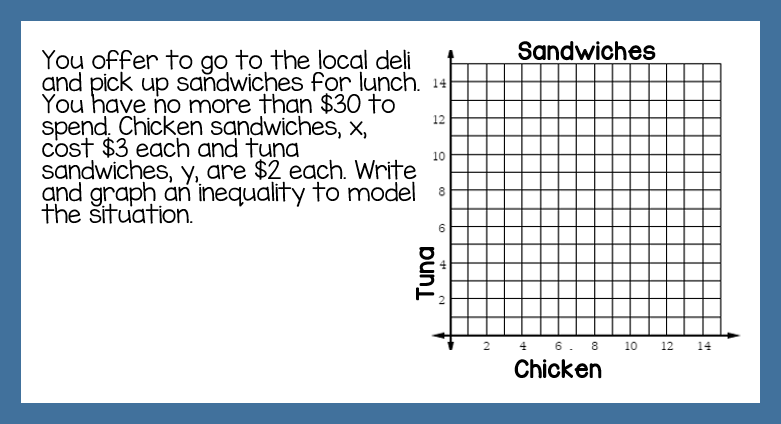
Next we took on the word problem together, rearranging the equation in standard form to graph it in y-intercept form. Then we jumped to the other word problem and students tried it on their own. These word problems helped my students understand the shading in context.

Then I had the students complete the other problems on their own. I projected them onto the board and had students work them out.

Students practiced with this coloring activity. I love all the variety of my creative students!

At the end of the class, I passed out this exit ticket. {click to download for free!}
After class, I quickly sorted them into those who answered it perfectly and those who made a mistake. I used my single-hole-punch to make a hole in the stack that answered perfectly. At the start of the next class, I passed back the ones who answered perfectly with a student who needed help and had them assist the student in finding and correcting their error. This method has worked really well for engaging everyone and getting students instant remediation.